 cogimadeDare to do it your way.
Free sewing tutorial
How to sew a chair seat cushion
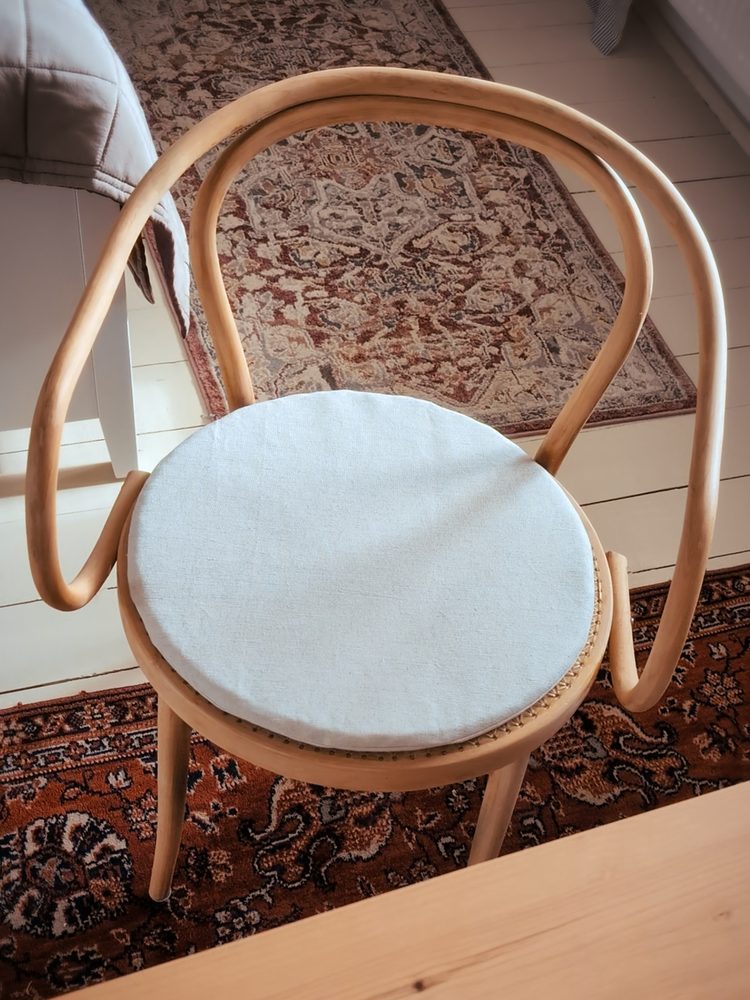
A seat cushion with a removable cover that closes with hook-and-loop tape. Pull the foam out, machine wash the cover, put it back. I sewed my first one in 2020 for a white armchair at our cottage and traced its shape on paper. More chairs followed, each a different size, and the round ones turned into a formula that needs just one measurement. This guide has both: a round cushion from the formula and a cushion of any shape from a traced outline.
Free, no sign-up, no email.
The cheat sheet covers the round cushion, in centimetres.
In the video I sew a round cushion from the formula. For any other shape, step 2 has the tracing method.
Step by step
Step 1
Materials and tools
- Fabric: sturdy woven fabric (upholstery fabric, canvas, home-décor fabric), approx. 300 g/m² (9 oz/yd²).
- Filling: firm upholstery foam (any height you like, 3/4–2 in recommended).
- Notions: hook-and-loop tape (3/4–1 1/4 in wide), sewing thread matching the fabric.
- Tools: sewing machine, tape measure, ruler, fabric scissors, pins or clips, tailor's chalk or fabric marker, paper for templates. For a round cushion a piece of sturdy string and a pin (for a makeshift compass); for other shapes a French curve helps.
Step 2
Templates and measuring
Before you cut anything, prepare two paper templates: “d” for the foam, exactly the size of the chair seat, and “D” for the fabric cover. How you get them depends on the shape of the seat.
Round seat: measure the diameter
Measure the diameter of the seat “d” and draw both templates with a string compass. This is what I show in the video.
How to draw a large circle: make a string compass. Stick a pin into the centre of the paper, tie on a piece of string cut exactly to the circle's radius (d/2 or D/2), tie a pencil to the other end and draw the circle with the string pulled taut. Works for any size: nothing to print or tape together.
Formula for a round cushion
D = d + t + (2 × s) − 3/8
- d
- diameter of the chair seat
- t
- thickness of the foam
- s
- seam allowance (3/8 in throughout this tutorial)
- −3/8
- 3/8 in is subtracted so the finished cover fits snugly around the foam, whose sharp edges we'll trim off
Example: the chair seat is 18 in, the foam is 3/4 in thick, sewing with a 3/8 in seam allowance.
D = 18 + 3/4 + (2 × 3/8) − 3/8 = 19 1/8 inAny other shape: trace it
A rounded square, a D shape like my armchair, anything. You can't measure a diameter here, so trace the outline of the seat:
- Lay a sheet of paper on the seat and hold it down with one hand, or weigh it down, so it does not move at all. Anything large will do; in 2020 I used a forgotten roll of Christmas wrapping paper.
- All the way round, lightly fold the paper over the edge of the seat. The crease shows you the exact outline. Then trace it with a pencil or marker.
- Cut out the outline. This is template “d”: use it to trace and cut the foam.
- Work out the offset “o” with the formula below.
- Lay template “d” on another sheet and trace it. Then, all the way round, measure the distance “o” out from the outline with a ruler, at a right angle, and make a mark. Make a mark every 1 to 2 in, closer together on tight curves. Join the marks with a smooth freehand line, or with a French curve. Cut it out and you have template “D” for the fabric.
Formula for a traced shape
o = (t + 2 × s − 3/8) / 2
- o
- offset of the fabric outline from the seat outline, the same all the way round
- t
- thickness of the foam
- s
- seam allowance (3/8 in throughout this tutorial)
- −3/8
- 3/8 in is subtracted so the finished cover fits snugly around the foam, whose sharp edges we'll trim off
Example: the foam is 3/4 in thick, sewing with a 3/8 in seam allowance.
o = (3/4 + 2 × 3/8 − 3/8) / 2 = 9/16 inIt is the same formula as for the circle, just for one side: circle “D” is circle “d” offset by “o” all round, D = d + 2 × o.
Schematic only, not a printable pattern. Inner circle “d” for the foam, outer “D” for the fabric; draw both with a string compass. 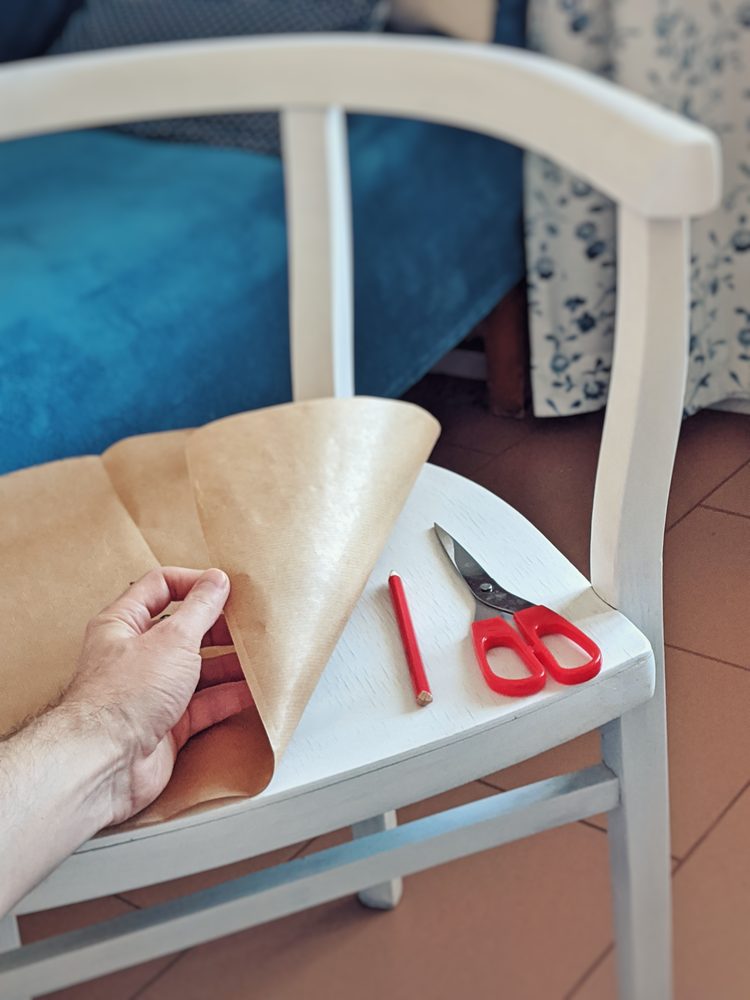
Paper template on the armchair seat: fold over the edge, trace, cut out. 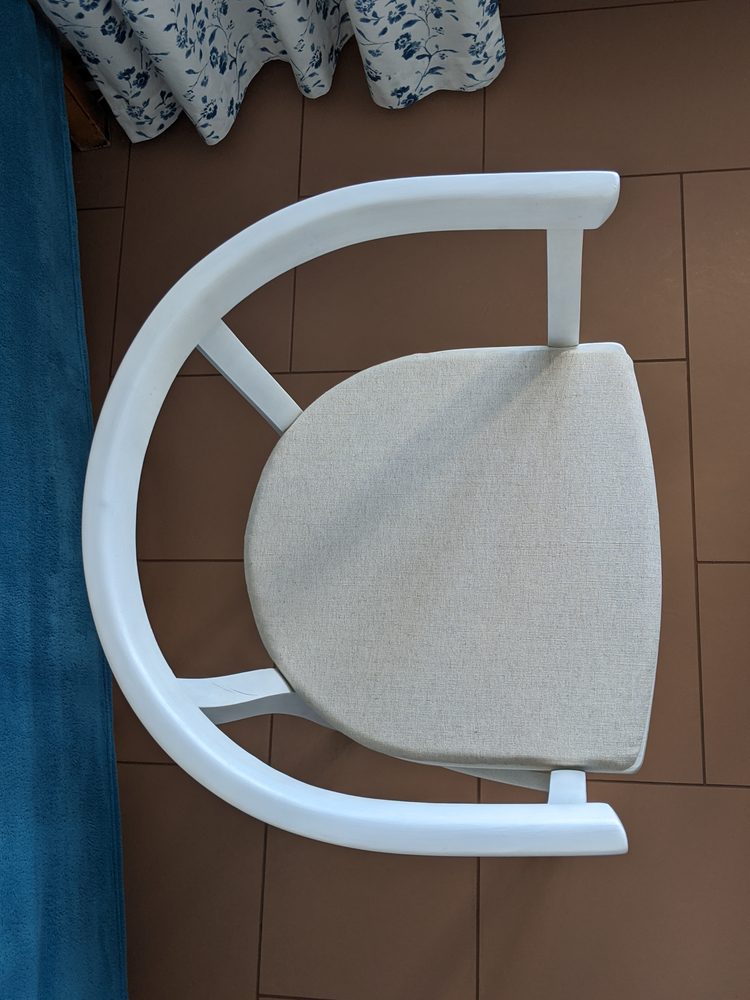
The finished cushion on the armchair from above. You can't draw this shape with a compass. Step 3
Cutting the fabric
Cut a total of 3 pieces from the fabric:
- Piece A (top): one whole piece from template “D”.
- Pieces B and C (bottom), round cushion:
- Draw a line through the centre of template “D”.
- Draw a parallel line 1 1/4 in from the centre line.
- Fold the template along this offset line.
- Cut this “oversized half-circle” from the fabric 2×.
- Pieces B and C (bottom), any other shape:
- Split template “D” with a straight line into a front and a back half, across the seat at its widest point. That is where the foam opening goes, and the wider it is, the easier the foam slips through.
- Draw a parallel line 1 1/4 in away on each side of the split line.
- For piece B, fold the template along the back parallel line and trace the front half, now 1 1/4 in bigger, onto the fabric.
- For piece C, fold it along the front parallel line and trace the back half, also 1 1/4 in bigger.
Here pieces B and C differ, but both reach 1 1/4 in past the split line, just like on the circle. On a circle both halves are the same, which is why one parallel line and the same piece twice are enough there.
The 1 1/4 in past the split line serves a purpose on each piece: on piece B it carries the hook-and-loop tape, on piece C it flips over into a fold that hides the whole closure (see step 5).
Cutting list
fabric 1× whole piece from template “D” (piece A), pieces B and C from template “D”, each 1 1/4 in past the split line foam 1× from template “d” tape hook-and-loop tape: 1× length of the split line on template “d” − 2 1/2 in, for a round cushion d − 2 1/2 in (see step 4) Round cushion: template “D” with the centre line and the fold line 1 1/4 in beside it; the three cut pieces: full circle A, oversized half-circles B and C. Any other shape: template “D” with the split line at its widest point and two parallel lines; piece B is the front, piece C the back, each 1 1/4 in past the split line. Step 4
Finishing the edges and attaching the hook-and-loop tape
- Finishing: zigzag or serge (overlock) the entire edge of all three pieces (A, B, C).
- Cutting the tape: cut the hook-and-loop tape to the length of the split line on template “d” minus 2 1/2 in. For a round cushion that is the diameter “d” minus 2 1/2 in (15 1/2 in in our example). The ~1 1/4 in margin at each end leaves room to firmly secure the opening (step 5), while the opening stays large enough to slip the folded foam through.
- Attaching: both halves of the tape (hook and loop) are sewn onto the right side of the fabric, along the straight edge of each piece.
- Centre the tape on both pieces (equal gaps at each end) and pin it to the straight edge.
- Stitch the tape down around its entire perimeter (all four sides, not just one line), otherwise it will peel off over time.
Pieces B and C right side up, each with its half of the tape centred on the straight edge, equal gaps at both ends. Step 5
Assembling the bottom
- Lay piece A on the table as a guide.
- Place piece B on it, right side up.
- Place piece C on piece B right side down, straight edges aligned, and close the hook-and-loop tape.
- Flip piece C over along the tape line to the other side. The joined pieces now form the same shape as piece A; use it to align them. The flip creates a 1 1/4 in fold on piece C with the tape hidden inside.
- Pinning the fold: pin or clip the resulting fold on piece C along its whole length.
- Separating the pieces: open the hook-and-loop tape and separate pieces B and C again. Only piece C gets stitched.
- Topstitching the fold (2×): stitch the fold on piece C with a straight stitch, parallel to the straight edge, twice:
- the first line along the edge of the folded fabric, 1/16 in from that edge: this locks the fold down;
- the second line, for reinforcement, at the same 1/16 in offset along the folded crease, over its whole length.
- Putting it back together: place the finished piece C back on piece B so the hook-and-loop tape closes again. Pieces B and C now form the bottom of the cushion, matching the top piece A.
- Securing the ends of the tape: where the tape ends, sew a short, dense zigzag perpendicular to the straight edge, through all layers. This locks pieces B and C together so the foam opening won’t tear.
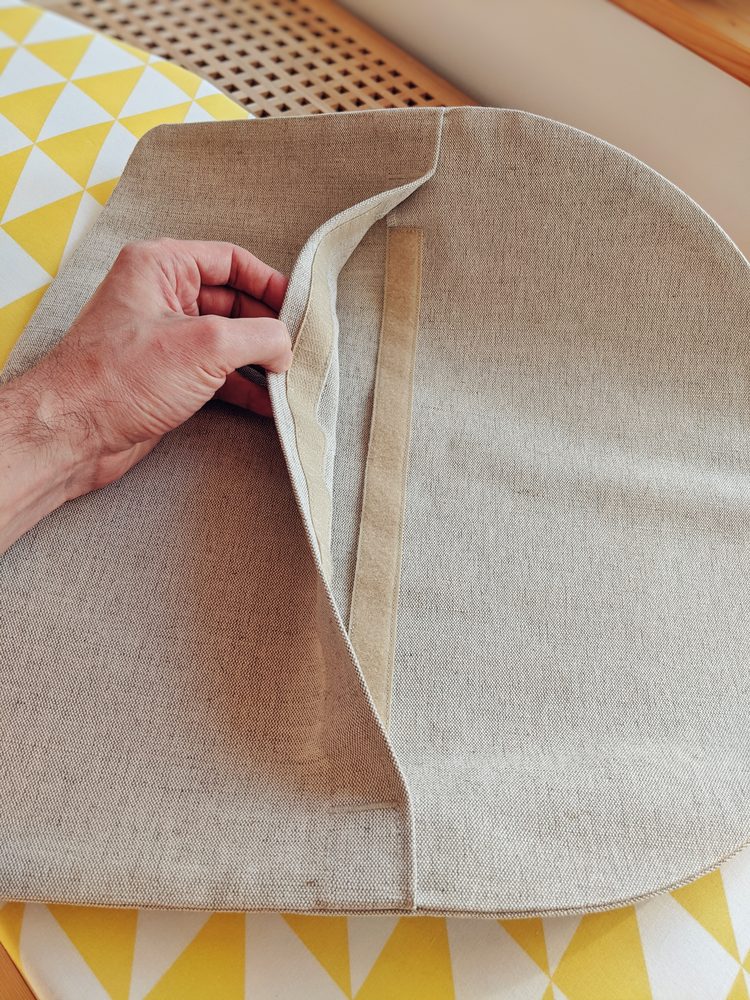
The underside of the armchair cushion: the fold of piece C hides the hook-and-loop tape, and the foam goes in through the opening. Four stages: - a) piece B right side up, piece C right side down on top, tape closed
- b) piece C flips over the tape line
- c) piece C on its own: the fold pinned, two dashed stitching lines (along the edge of the folded fabric and along the crease), both at a 1/16 in offset
- d) the finished bottom, with a detail of the dense zigzag stitch at the end of the tape
Step 6
Sewing the cover
- Lay piece A on the table right side up.
- Place the assembled bottom piece (B+C), with the hook-and-loop tape closed, onto piece A right side down (right sides together).
- Align the edges and pin all the way around.
- Sew with a straight stitch at a distance of “s” from the edge (your chosen seam allowance, 3/8 in in our example) all the way around.
The fabric sandwich: piece A right side up on the table, the assembled bottom piece B+C right side down on top with the tape closed. Pins around the perimeter. The dashed line shows the stitching path at a distance of “s” (3/8 in) from the edge. Step 7
Finishing and inserting the foam
- Turning: open the hook-and-loop closure and turn the whole cover right side out through it. Smooth out the seams.
- Cutting the foam: cut the foam using template “d”.
- Shaping: with scissors, trim the top and bottom edges of the foam all the way around (about 1/4 in at a 45° angle). The cushion will have a nicer, softer shape.
- Inserting: fold the foam, slide it into the cover and smooth everything into place.
Trimming the top and bottom edges of the foam (~1/4 in at a 45° angle); the dashed lines mark the cut across each corner.
What I learned
- Fabric: the cotton-linen canvas seemed far too stiff to me at first. It turned out to sew beautifully and it keeps its shape on the seat.
- Trace or calculate: for one chair that is not round, tracing is the quickest way. For a pile of different round chairs, the formula is quicker.
- Pressing: iron the cover thoroughly before inserting the foam, especially the perimeter seam.
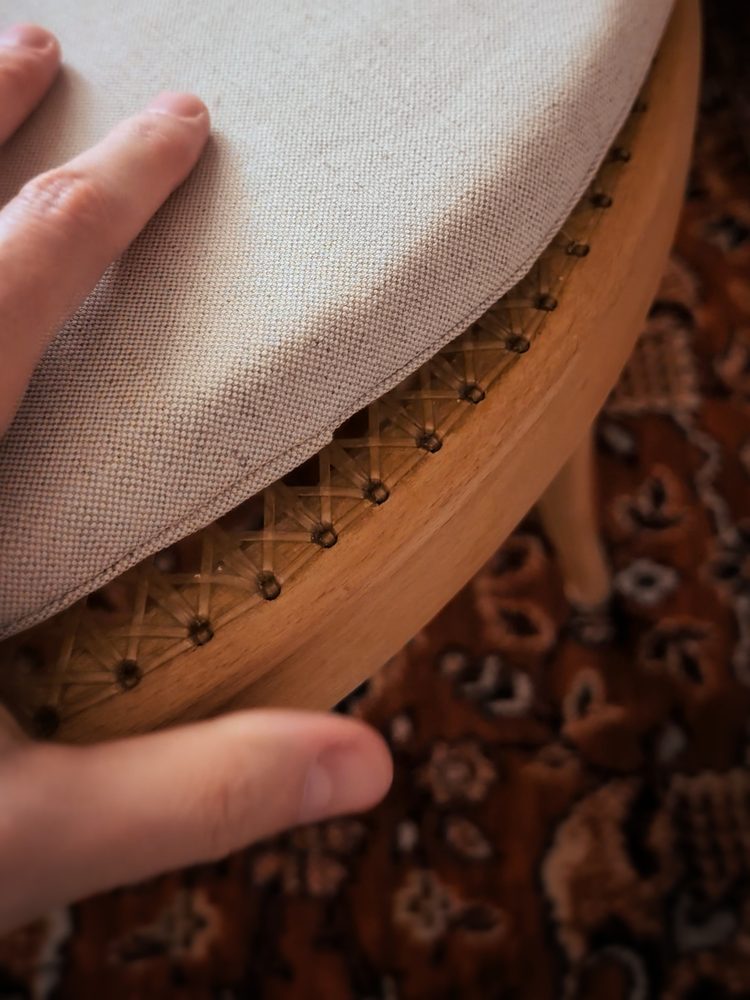
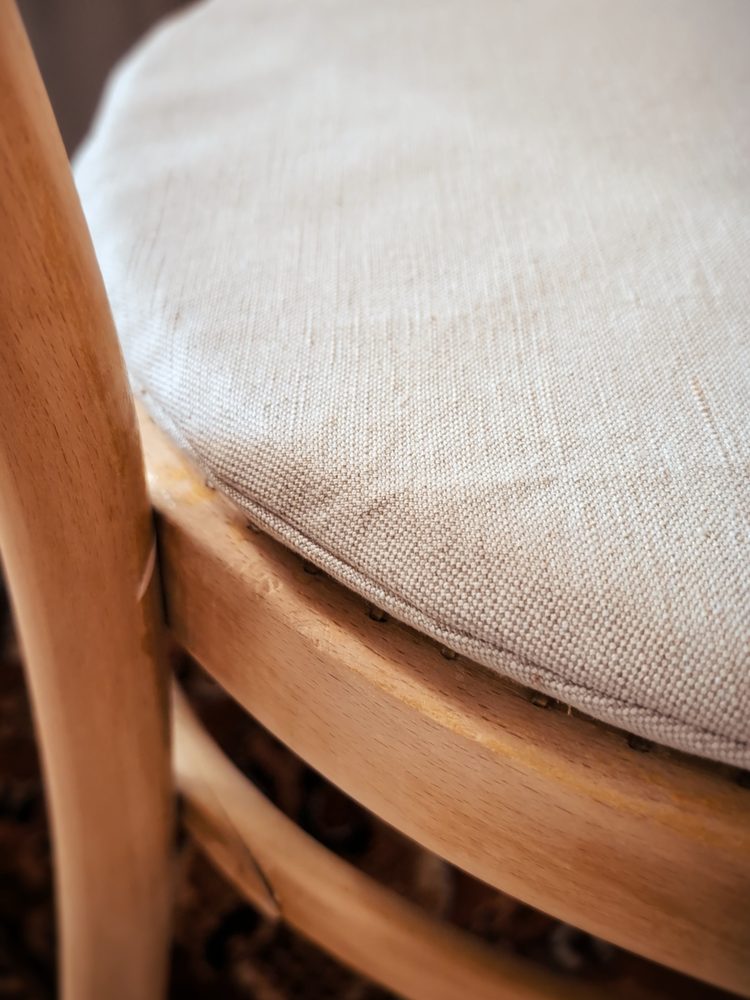
Cushions made with this guide
Have you sewn a cushion with this guide? Tag @cogimade on Instagram or send a photo to info@cogi.cz, and let me know whether I may show it here with your name.
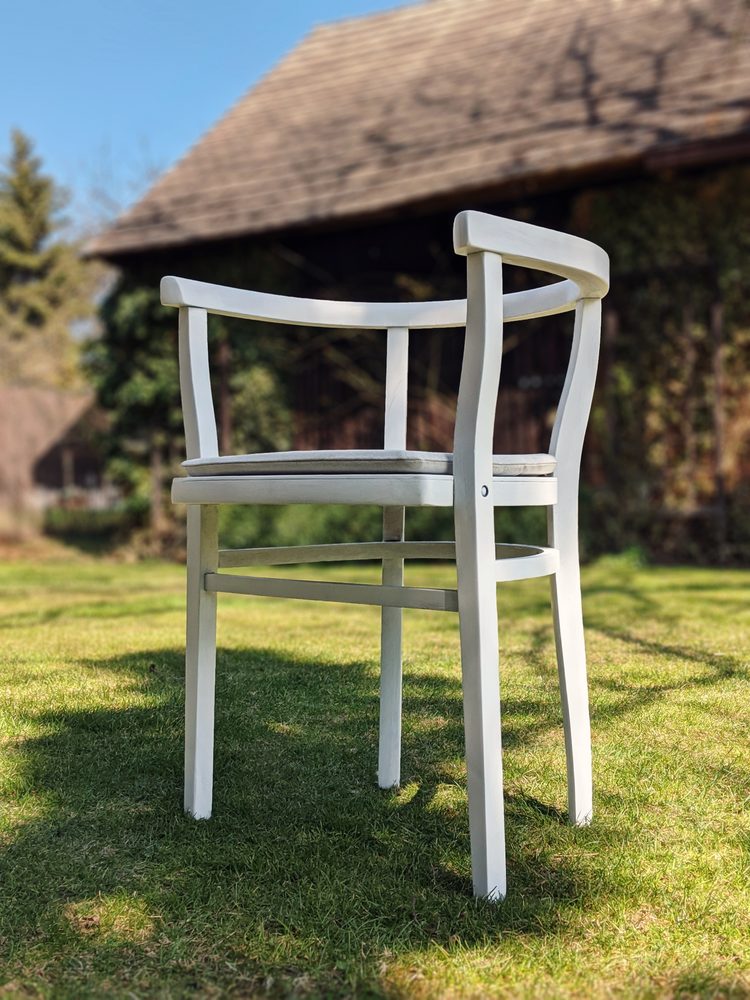
So far there are only mine. Will you be first?